配置apache和nginx的tomcat负载均衡
概述
本篇文章主要介绍apache和nginx的相关配置,tomcat的相关安装配置我在前面有写过一篇,详细介绍通过两种配置方法配置nginx。
tomcat配置参考:http://www.cnblogs.com/chenmh/p/5048893.html
apache配置
源码安装
./configure --prefix=/usr/local/apache (安装目录)makemake install
对于2.4以上版本的apache在进行源码安装的时候有的机器会提示缺少部分插件例如:apr、apr-util、pcre,需要先将这些插件安装好然后再安装apache
YUM安装
yum install httpd
配置tomcate负载均衡
进入安装目录cnf.d文件夹下面,创建一个.conf后缀的文件
touch apa.conf
vim apa.cnf
Listen 8051<VirtualHost *:8051>ServerAdmin root@localhostServerName localhostErrorLog "/etc/httpd/logs/app_error.log"CustomLog "/etc/httpd/logs/app_access.log" commonProxyPass / balancer://cluster/ stickysession=JSESSIONID|jsessionid nofailover=On lbmethod=byrequests timeout=5 maxattempts=3ProxyPassReverse / balancer://cluster/ProxyRequests OffProxyPreserveHost On<proxy balancer://cluster>#BalancerMember ajp://localhost:8009 route=tomcat_aBalancerMember http://localhost:8080/Front#BalancerMember ajp://localhost:8010 route=tomcat_bBalancerMember http://localhost:8081/Front</proxy></VirtualHost>
配置文件一开始配置了apache的端口8051,然后在最下面配置了连接tomcat的项目端口,我这里的配置的apache和tomcat都在一台服务器上面分别使用了不同的端口,在tomcat的webapps路径下面创建了一个Front项目,项目下面存放了一个test.jsp的测试页面
cd /usr/local/tomcat1/webappsmkdir Frontcd Fronttouch test.jspvim test.jsp
<font color=red>testa</font><b>
同样在tomcat2中也使用同样的方法创建测试页面,但是将testa改成testb
接下来确保8051端口被启用,也可以关闭防火墙,tomcat1、tomcat2都已启动,启动方法参考前面我写的关于tomcat的文章,确保httpd也以启动,如果已经将httpd加入了启动服务,
启动http服务service httpd start查看服务启动状态service httpd status接下来在浏览器中输入:http://localhost:8051/test.jsp
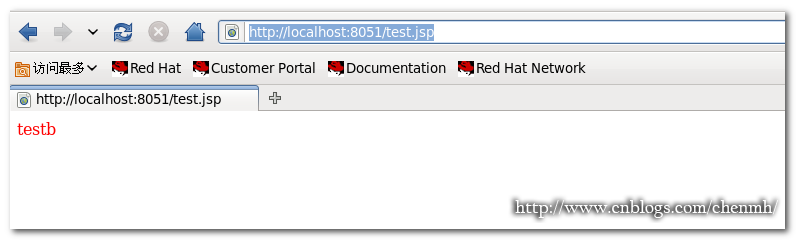
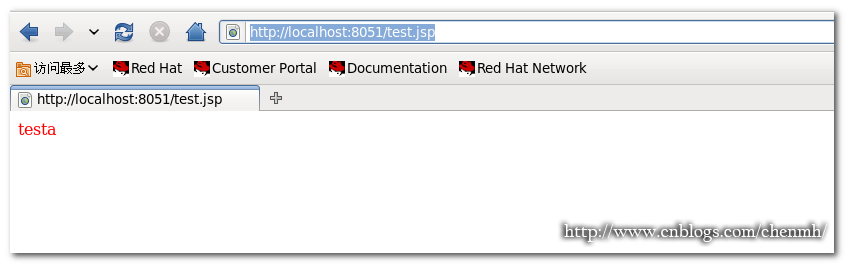
如果刷新连接页面结果是在testa和testb之间切换,说明配置成功。
nginx配置
源码安装
创建nginx用户组groupadd nginx创建nginx用户useradd -g nginx -s /sbin/nologin nginx安装相关插件yum install –y make zlib-devel openssl-devel pcre-devel解压nginx安装包tar zxvf nginx-1.8.0.tar.gz进入安装包cd nginx-1.8.0安装 ./configure --prefix=/usr/local/nginx --with-http_ssl_module --with-http_gzip_static_module --with-http_stub_status_modulemake && make install
单个文件配置方法
创建测试页面
cd /usr/local/tomcat1/webappsmkdir MFrontcd MFronttouch index.jspvim index.jsp

<font color=red>MFronttesta</font><b>
tomcat2也同样操作,将MFronttesta改成MFronttestb
配置文件
cd /usr/local/nginx/confvim nginx.conf
user nginx nginx; worker_processes 8; pid /usr/local/nginx/nginx.pid; worker_rlimit_nofile 102400; events { use epoll; worker_connections 102400; } http { include mime.types; default_type application/octet-stream; fastcgi_intercept_errors on; charset utf-8; server_names_hash_bucket_size 512; client_header_buffer_size 1024k; large_client_header_buffers 4 128k; client_max_body_size 300m; sendfile on; tcp_nopush on; keepalive_timeout 600; tcp_nodelay on; client_body_buffer_size 512k; proxy_connect_timeout 5; proxy_read_timeout 600; proxy_send_timeout 50; proxy_buffer_size 16k; proxy_buffers 4 64k; proxy_busy_buffers_size 128k; proxy_temp_file_write_size 128k; gzip on; gzip_min_length 1k; gzip_buffers 4 16k; gzip_http_version 1.1; gzip_comp_level 2; gzip_types text/plain application/x-javascript text/css application/xml; gzip_vary on; ###2012-12-19 change nginx logs log_format main '$http_x_forwarded_for - $remote_user [$time_local] "$request" ' '$status $body_bytes_sent "$http_referer" ' '"$http_user_agent" $request_time $remote_addr'; upstream Front { server 127.0.0.1:8080 weight=1 max_fails=2 fail_timeout=30s; server 127.0.0.1:8081 weight=1 max_fails=2 fail_timeout=30s; } upstream MFront { server 127.0.0.1:8080 weight=1 max_fails=2 fail_timeout=30s; server 127.0.0.1:8081 weight=1 max_fails=2 fail_timeout=30s;} ####chinaapp.sinaapp.com server { listen 80; server_name localhost; location /Front { proxy_next_upstream http_502 http_504 error timeout invalid_header; proxy_set_header Host $host; proxy_set_header X-Real-IP $remote_addr; proxy_set_header X-Forwarded-For $proxy_add_x_forwarded_for; proxy_pass http://Front; expires 3d; } location /MFront { proxy_next_upstream http_502 http_504 error timeout invalid_header; proxy_set_header Host $host; proxy_set_header X-Real-IP $remote_addr; proxy_set_header X-Forwarded-For $proxy_add_x_forwarded_for; proxy_pass http://MFront; expires 3d; } } }
注意标红色的地方,配置文件中我配置了两个项目分别是Front和MFront,在下面定义server里面的项目名称一定要跟上面配置负载的姓名名称保持一致否则会出错。
多个配置文件配置方法
对于需要配置多个项目的时候如果所有的信息都配置在一个nginx配置文件当中会导致配置文件内容过长,不好查看,下面就使用多个配置文件的配置方法
cd /usr/local/nginx/conf创建相关联的配置文件touch gzip.conf proxy.conf host.conf web.conf
vim nginx.conf
user nginx nginx;worker_processes 4; # 工作进程数,为CPU的核心数或者两倍error_log logs/error.log crit; # debug|info|notice|warn|error|critpid logs/nginx.pid;events { use epoll; #Linux最常用支持大并发的事件触发机制 worker_connections 65535;}http { include mime.types; #设定mime类型,类型由mime.type文件定义 default_type application/octet-stream; log_format main '$remote_addr - $remote_user [$time_local] "$request" ' '$status $body_bytes_sent "$http_referer" ' '"$http_user_agent" "$http_x_forwarded_for"'; access_log logs/access.log main;#设定请求缓冲 server_names_hash_bucket_size 256; #增加,原为128 client_header_buffer_size 256k; #增加,原为32k large_client_header_buffers 4 256k; #增加,原为32k types_hash_max_size 2048; proxy_headers_hash_bucket_size 1024; proxy_headers_hash_max_size 512; #size limits client_max_body_size 50m; #允许客户端请求的最大的单个文件字节数 client_header_timeout 3m; client_body_timeout 3m; send_timeout 3m; sendfile on; tcp_nopush on; keepalive_timeout 120; tcp_nodelay on; server_tokens off; #不显示nginx版本信息 # client_body_buffer_size 1024K; # client_header_buffer_size 128k; # client_max_body_size 512m; # large_client_header_buffers 8 128k; # client_body_timeout 10; # client_header_timeout 10; # keepalive_timeout 60; # send_timeout 10; limit_conn_zone $binary_remote_addr zone=perip:10m; #添加limit_zone,限制同一IP并发数 #fastcgi_intercept_errors on; #开启错误页面跳转 include gzip.conf; #压缩配置文件 include proxy.conf; #proxy_cache参数配置文件 include host.conf; #nginx虚拟主机包含文件目录 include web.conf; #后端WEB服务器列表文件}
注意最后的include这4个相关配置文件,其它的一些相关配置分别在这四个配置文件中配置。
cat gzip.conf
#启动预压缩功能,对所有类型的文件都有效gzip_static on; #开启nginx_static后,对于任何文件都会先查找是否有对应的gz文件#找不到预压缩文件,进行动态压缩gzip on;gzip_min_length 1k; #设置最小的压缩值,单位为bytes.超过设置的min_length的值会进行压缩,小于的不压缩.gzip_comp_level 3; #压缩等级设置,1-9,1是最小压缩,速度也是最快的;9刚好相反,最大的压缩,速度是最慢的,消耗的CPU资源也多gzip_buffers 16 64k; #设置系统的缓存大小,以存储GZIP压缩结果的数据流,它可以避免nginx频烦向系统申请压缩空间大小gzip_types text/plain application/x-javascript text/css text/javascript;#关于gzip_types,如果你想让图片也开启gzip压缩,那么用以下这段吧:#gzip_types text/plain application/x-javascript text/css text/javascript application/x-httpd-php image/jpeg image/gif image/png;#gzip公共配置gzip_http_version 1.1; #识别http的协议版本(1.0/1.1)gzip_proxied any; #设置使用代理时是否进行压缩,默认是off的gzip_vary on; #和http头有关系,加个vary头,代理判断是否需要压缩gzip_disable "MSIE [1-6]."; #禁用IE6的gzip压缩
cat proxy.conf
proxy_temp_path /tmp/proxy_temp;proxy_cache_path /tmp/proxy_cache levels=1:2 keys_zone=cache_one:500m inactive=1d max_size=3g;#client_body_buffer_size 512k; #原为512kproxy_connect_timeout 50; #代理连接超时proxy_read_timeout 600; #代理发送超时proxy_send_timeout 600; #代理接收超时proxy_buffer_size 128k; #代理缓冲大小,原为32kproxy_buffers 16 256k; #代理缓冲,原为4 64kproxy_busy_buffers_size 512k; #高负荷下缓冲大小,原为128kproxy_temp_file_write_size 1024m; #proxy缓存临时文件的大小原为128k#proxy_ignore_client_abort on; #不允许代理端主动关闭连接proxy_next_upstream error timeout invalid_header http_500 http_503 http_404 http_502 http_504;~
cat host.conf
server { listen 80; server_name localhost; #charset GB2312;location /MFront { proxy_next_upstream http_502 http_504 error timeout invalid_header; proxy_set_header Host $host; proxy_set_header X-Real-IP $remote_addr; proxy_set_header X-Forwarded-For $http_x_forwarded_for; proxy_set_header X-Forwarded-For $proxy_add_x_forwarded_for; proxy_redirect off; proxy_http_version 1.1; proxy_set_header Connection ""; proxy_pass http://MFront; }location /Front { proxy_next_upstream http_502 http_504 error timeout invalid_header; proxy_set_header Host $host; proxy_set_header X-Real-IP $remote_addr; proxy_set_header X-Forwarded-For $http_x_forwarded_for; proxy_set_header X-Forwarded-For $proxy_add_x_forwarded_for; proxy_redirect off; proxy_http_version 1.1; proxy_set_header Connection ""; proxy_pass http://Front; }}
cat web.conf
upstream MFront { server 127.0.0.1:8080 max_fails=1 fail_timeout=60s; server 127.0.0.1:8081 max_fails=1 fail_timeout=60s;}upstream Front { server 127.0.0.1:8080 max_fails=1 fail_timeout=60s; server 127.0.0.1:8081 max_fails=1 fail_timeout=60s;}
特别要注意web.conf配置文件中的项目要和host.conf配置文件中的项目名称保持一致
接下来在url中输入:http://localhost/MFront/
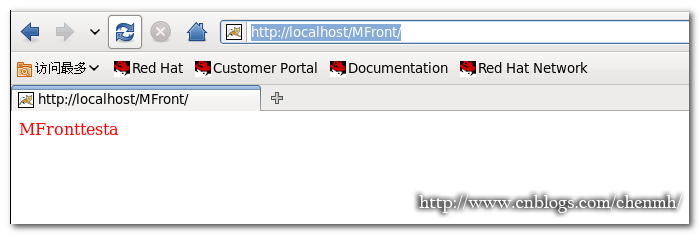
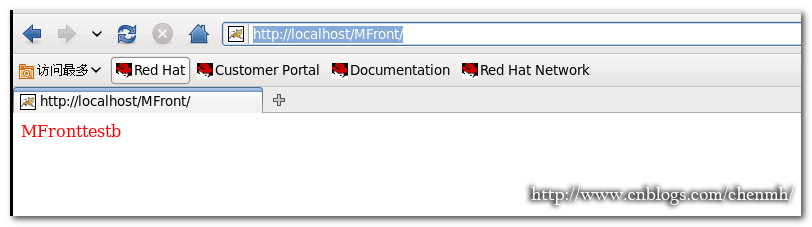
同样显示内容会在MFronttesta和MFronttestb之间切换说明配置正确
配置nginx启动
vim /etc/init.d/nginx
#!/bin/bash# chkconfig: 345 99 20# description: nginx PROG="/usr/local/nginx/sbin/nginx"PIDF="/usr/local/nginx/logs/nginx.pid"case "$1" instart)$PROGecho "Nginx servicestart success.";;stop)kill -s QUIT $(cat $PIDF)echo "Nginx service stopsuccess.";;restart)$0 stop$0 start;;reload)kill -s HUP $(cat $PIDF)echo"reload Nginx configsuccess.";;*)echo "Usage: $0{start|stop|restart|reload}"exit 1esac
授予可执行文件chmod +x /etc/init.d/nginx
#添加到启动服务chkconfig --add nginx#配置自动启动chkconfig --level 2345 nginx on
总结
对于配置文件中还有很多参数的调配这里就暂时不做细说,如果后面有时间的话会单独讲。
备注: 作者:pursuer.chen 博客:http://www.cnblogs.com/chenmh 本站点所有随笔都是原创,欢迎转载;但转载时必须注明文章来源,且在文章开头明显处给明链接。 《欢迎交流讨论》 |